The dotCMS starter site downloads with a default “Page Asset” Content Type that has all the basic required system fields to create a Page in dotCMS. However, if a Custom Page Content Type is desired, it should first be created using the Content Type Manager. The additional custom attributes should then be added to the new Page Content Type, and then custom pages can be created.
The dotCMS starter site also downloads with an example Custom Page Content Type called “Landing Page” Content Type which adds some custom behavior to pages created using this Page Content Type.
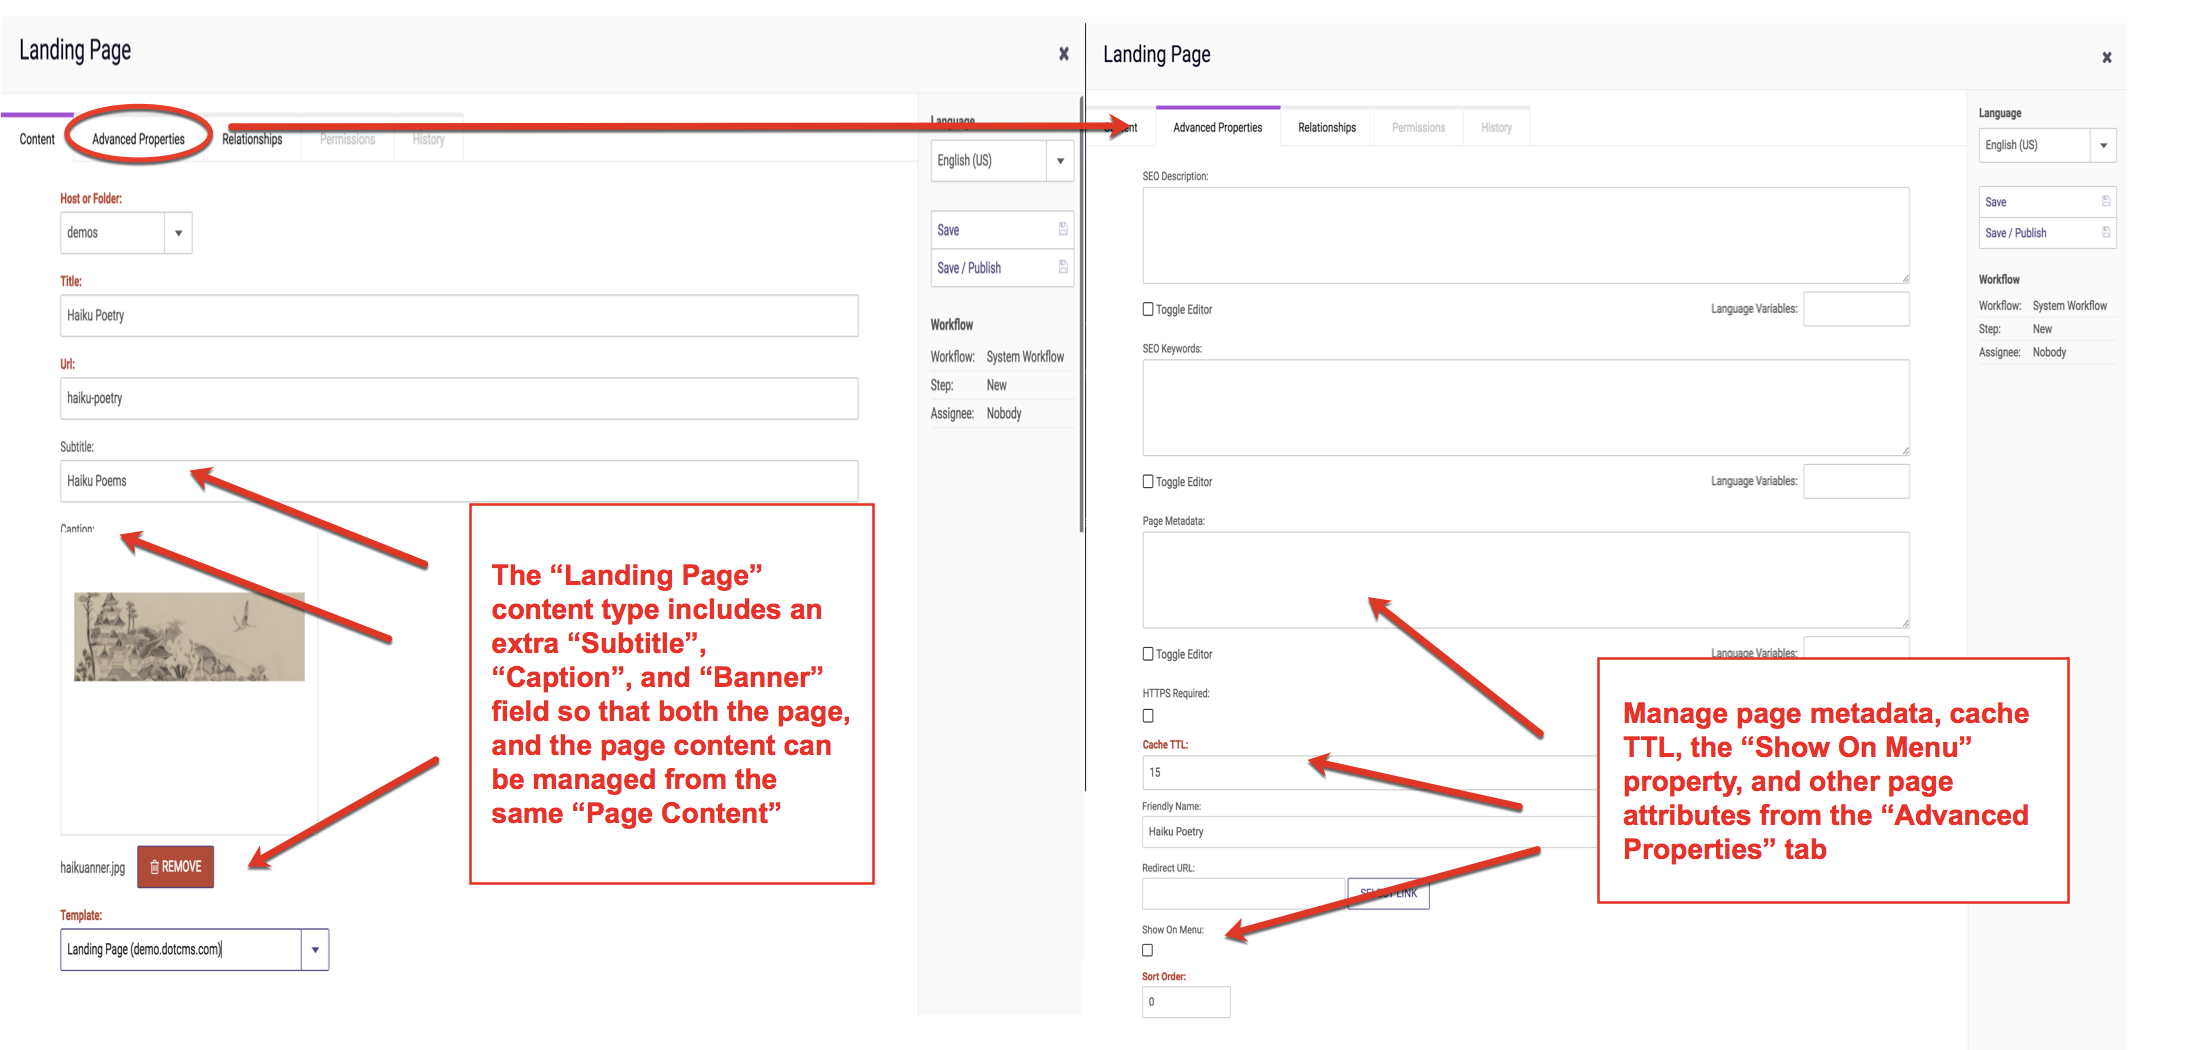
The “Landing Page” Content Type has one additional text field called Subtitle, a text area field called Caption“, and a binary image field called Banner. The dotCMS starter site themes can be modified to automatically test whether these fields are set, and display this extra field data at the top of the body section of the Page, automatically, the moment the Page is published. The documentation below shows how to add a “Landing Page” and how to customize page behavior using Page Content Types. However, this is only one example of the limitless Custom Page Content Types that webmasters can create.
Adding a “Landing Page”
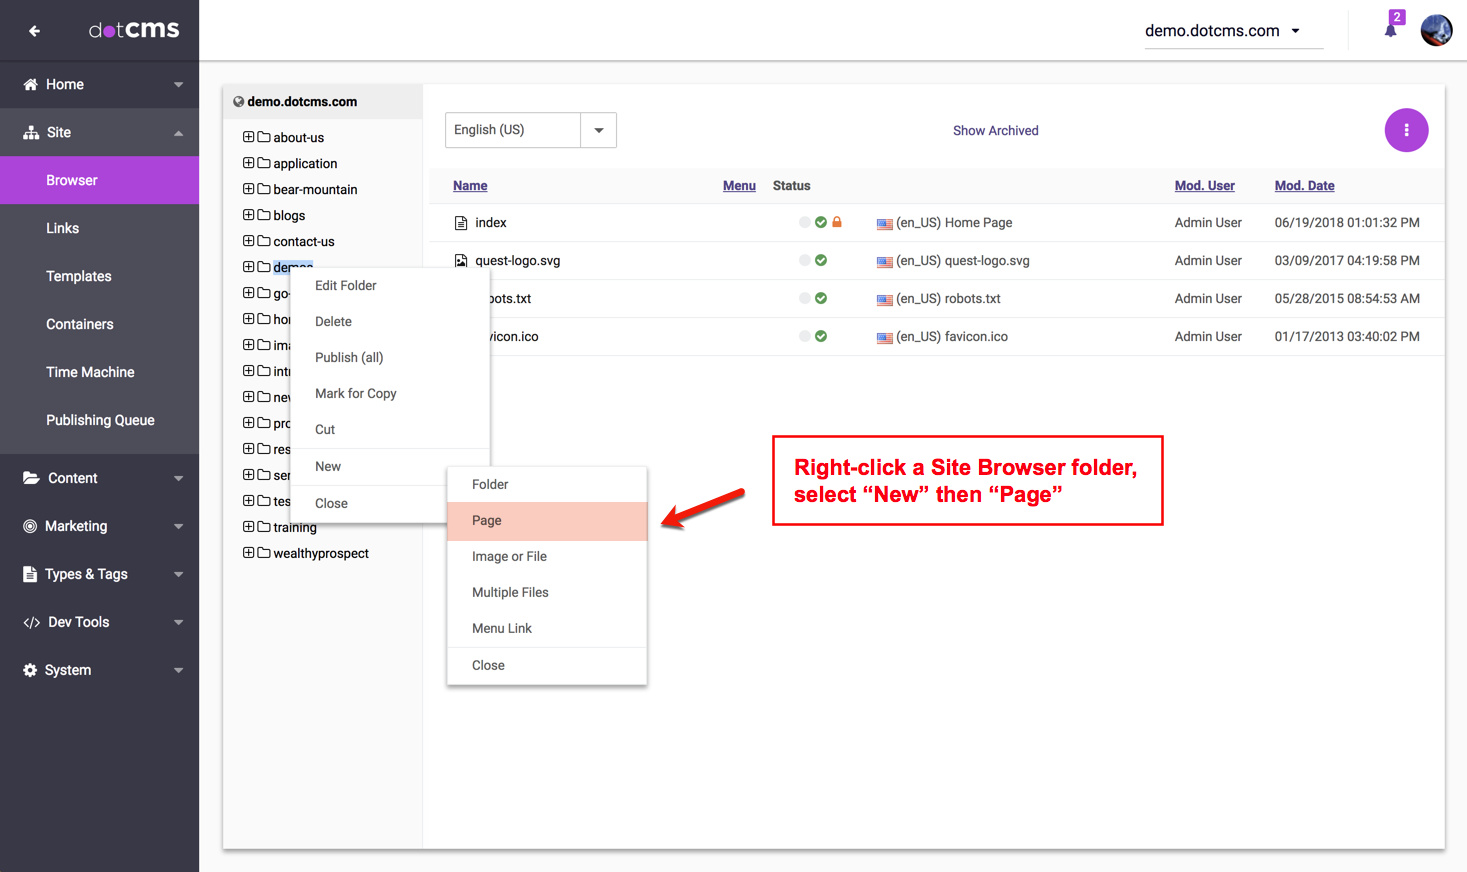
From the Site Browser tab (Site →Browser), right click a folder or the Site and select +New→Page.
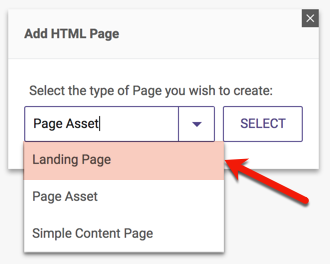
Select the “Landing Page” instead of the default “Page Asset”
Add a Page Title, choose a Host or Folder, Url, Cache TTL refresh rate (in seconds), and choose the Landing Page template and add the Subtitle, Caption, and Banner image for the Landing Page. Click on the “Advanced” page properties tab and check whether the Page should “Show on Menu” in the navigation, then page metadata as desired. Next click “Save / Publish”.
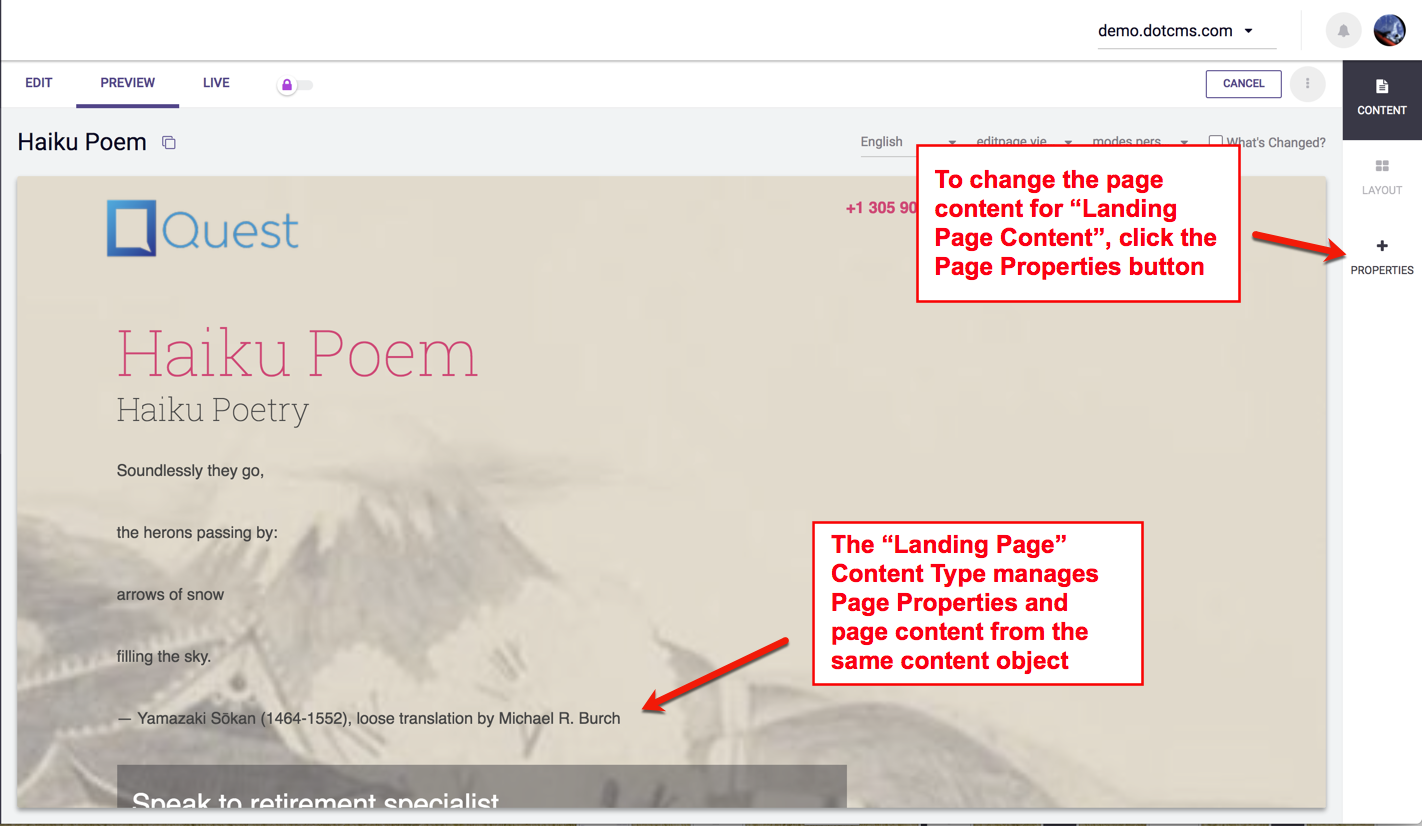
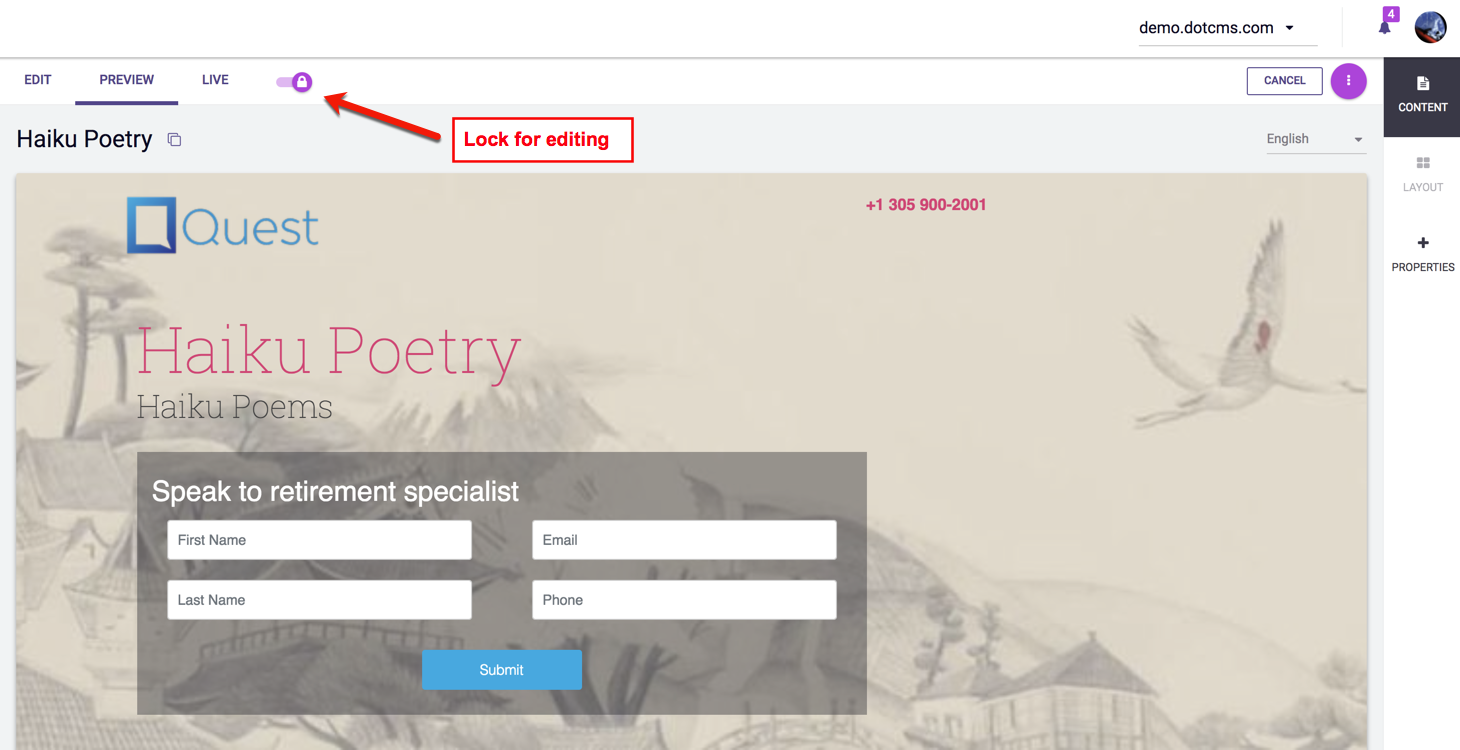
The customized “Landing Page” will display the customized fields, automatically, at the top of the Body section of the Page. The Page will be locked so that no changes to the content on the page can be made. To change the custom fields on the Page, simply click on “Page Properties“. To add content to one of the Containers being called by the Landing Page template, click “Lock for Editing“.
After clicking “Lock for Editing” on the Page, any Content Containers being included by the Landing Page template will display so they can be used for additional content contribution to the Page. To unlock the Page, click “Release Lock“.
Displaying the custom Page Content fields on Templates automatically when a Page is saved, is a custom behavior. To achieve this custom behavior the template code can be modified (in themes or advanced templates), to test for the presence of any text based field on a Page, and display it on a Page as long as it has been set.