Images make your content exciting and interesting to those reading your pages. Images can be added to content in a variety of ways in dotCMS. Here are two of the most common ways that images are typically added to content:
Adding images to a WYSIWYG field
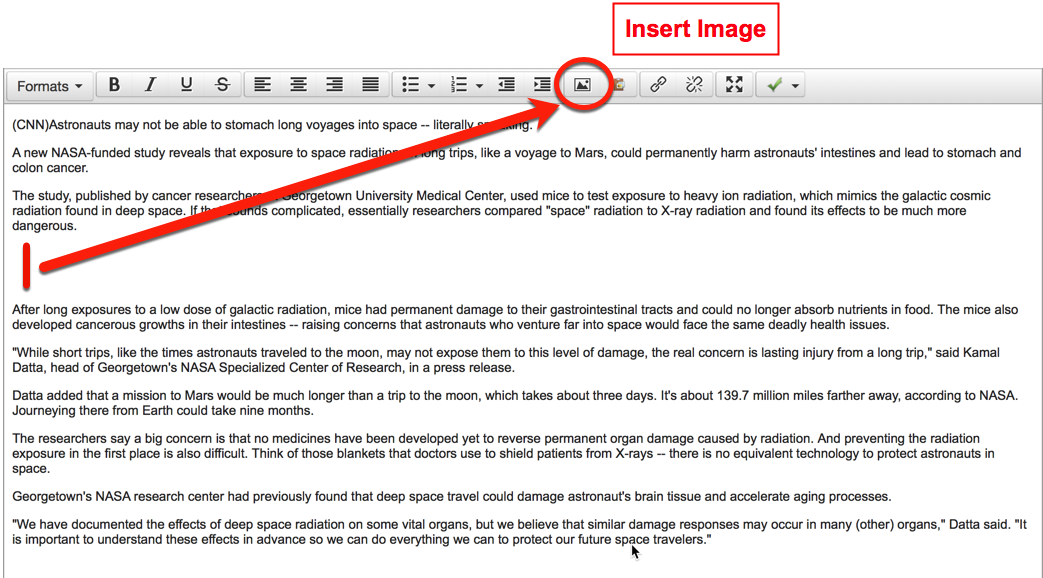
From a WYSIWYG field you can use the “Insert/edit image” tool to add/upload an image to the WYSIWYG field. Use the following steps to add an image to a WYSIWYG field on a piece of content:
Open the piece of content you wish to add an image to
Inside your WYSIWYG field, click where you would like to place the image to position your cursor
Click on the “insert/edit image” icon in the WYSIWYG toolbar (see image above)
In the “Insert/edit image” window, click the “Browse” button to the right of the Image URL field
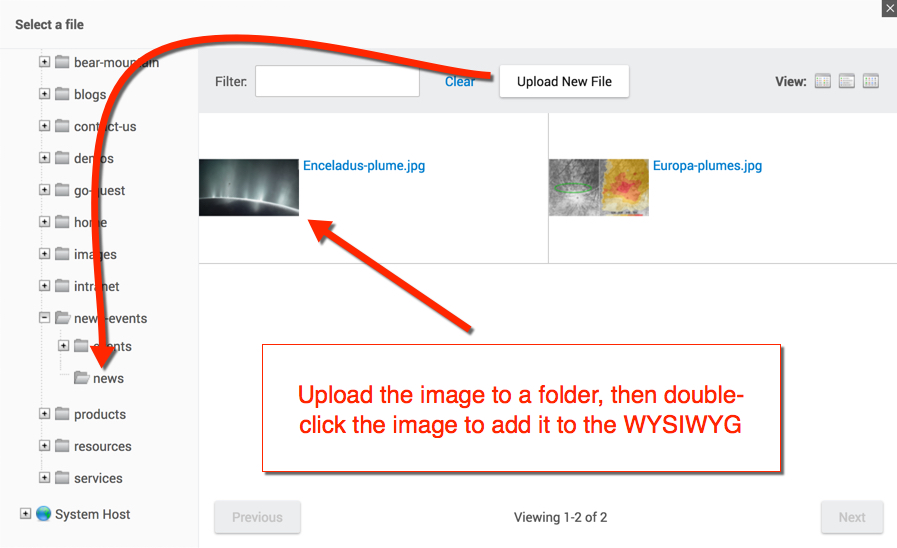
Select a folder from the “Sites and Folders” pane and click on the folder that has the image you are looking to place or that you want to upload a local image to.
After clicking on a specific folder, you will see the thumbnails of images in that folder. You can user the “Filter” keyword search box to find a specific image by title.
Once you have located the proper image you want to place, double-click on the image thumbnail
Fill out the “image description” and “Title” fields to describe the image and click the “Insert” button to place your image tin the WYSIWYG.
View the video tutorial below see how to align images and text within a WYSIWYG field
Warning: Images should NEVER be copied/pasted to, or dragged and dropped onto, a WYSIWYG field from your local computer. The WYSIWYG will merely attempt to display the image from the location you pasted/dragged from, but your image will not live in dotCMS and the link to your image will soon break. Always use the image tool upload/place image in the WYSIWYG.
Adding Images to an Binary Field
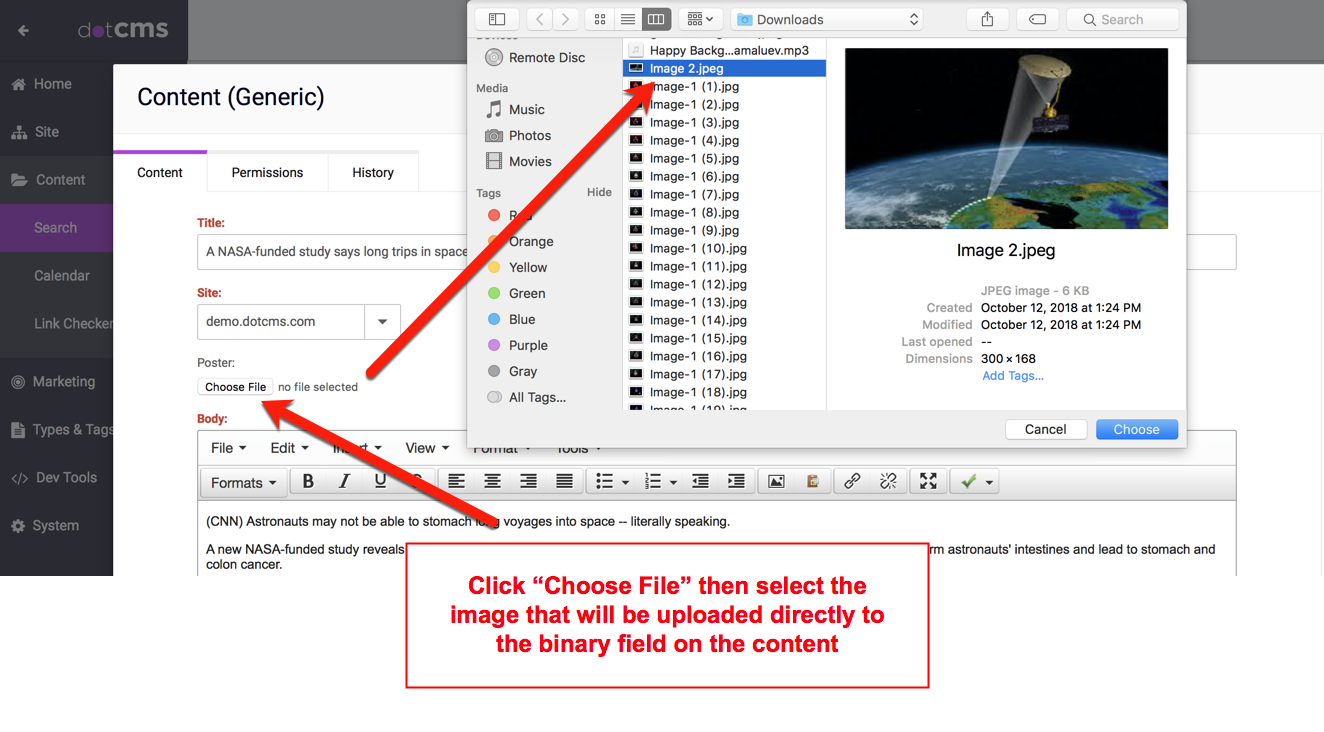
Images can be uploaded directly into content using a Binary field. The image below shows a binary field being used to browse for and upload an image.
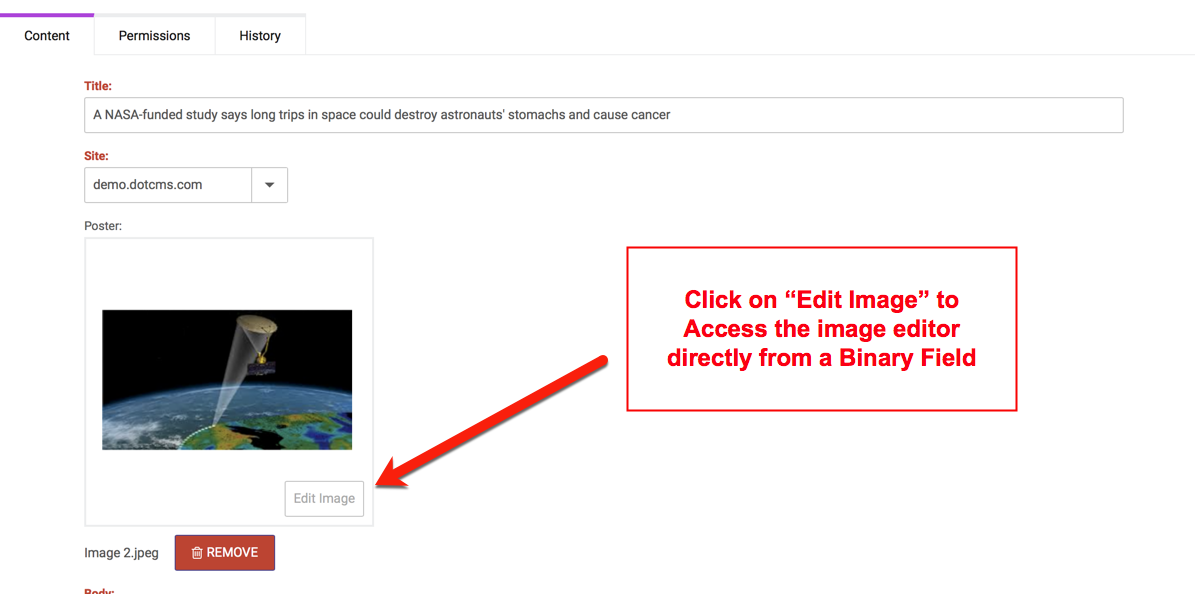
Images uploaded directly into content via binary fields can be edited direclty using the image editor feature.
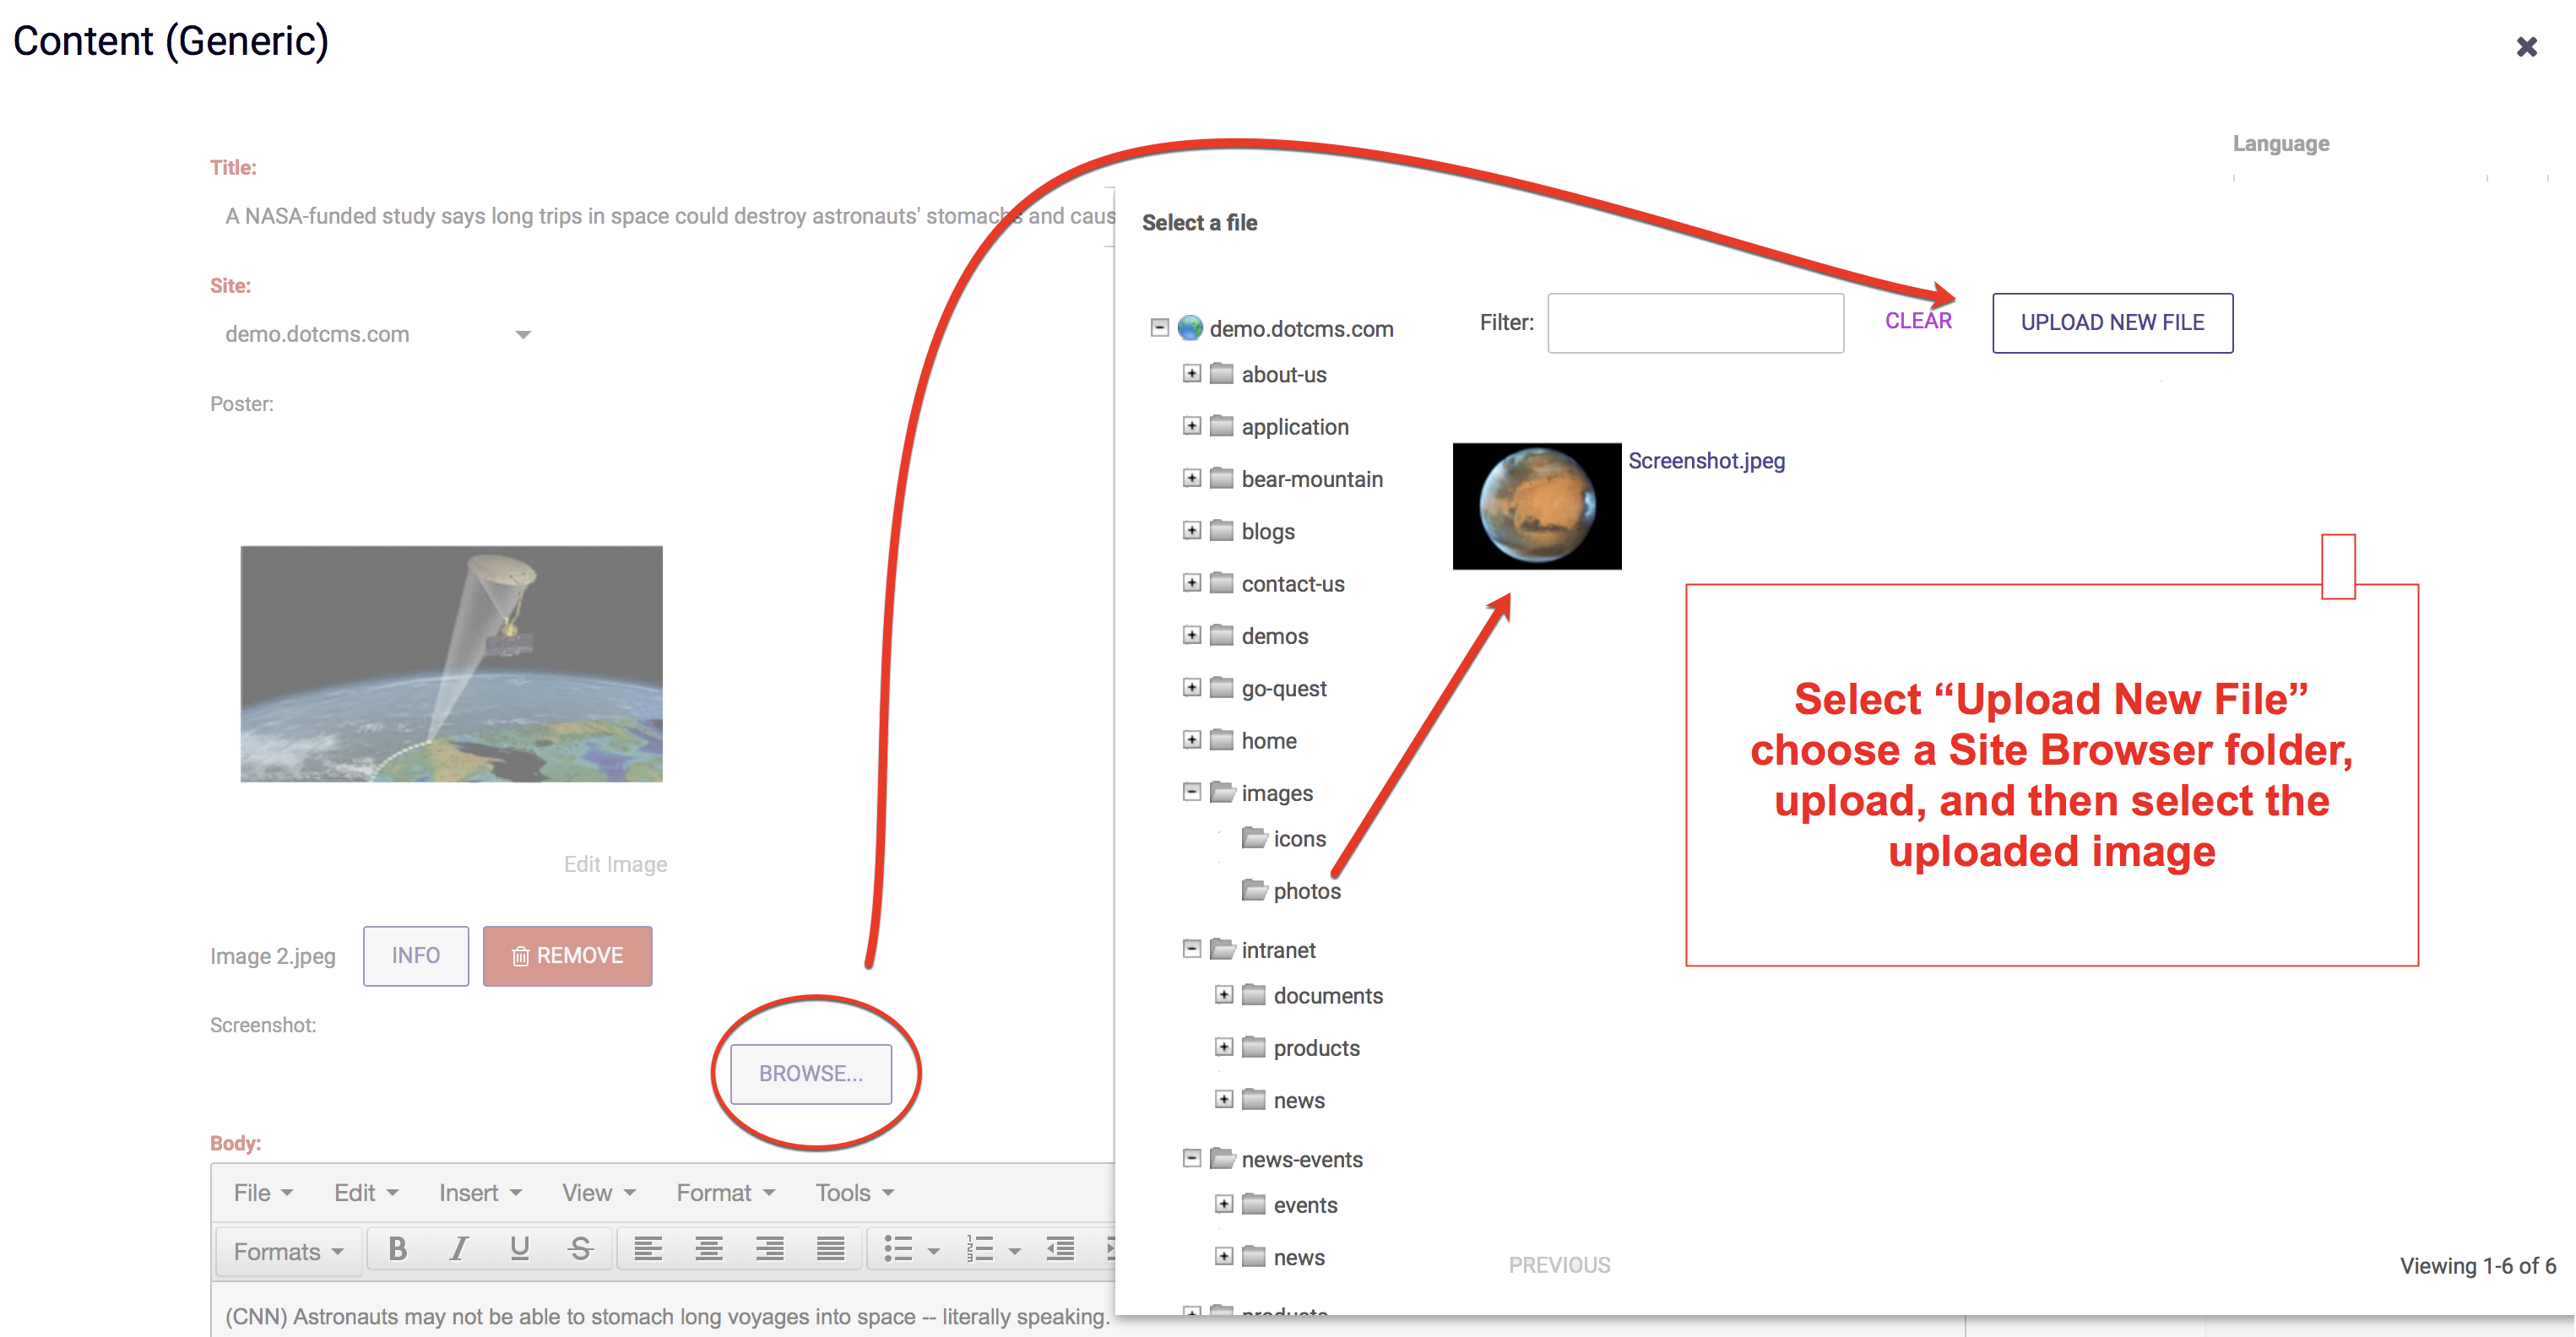
Adding Images to an Image Field
Images can be uploaded as files and linked to the content via an image field. The image below shows an image field being used to browse for and upload an image file to dotCMS.
As the image file is uploaded through the image field it is linked to the image in an image library. This method of uploading images allows the images to be re-used by others with access to the library. Images uploaded to the image library can be re-used by many contentlets. View the tutorial video below to see how easy it is to upload images and associate them with content using an image field.